This raspberry soda is easily made and refreshing at its best! You’ll love this soda because it’s made from scratch using fresh ingredients with no additives or preservatives. You know what’s in it! This raspberry soda recipe can not only be used to make a great poolside mocktail but it can also easily be turned into a party favorite cocktail by adding your favorite alcohol.
I love making homemade soda. It’s much better than buying a bottle with 10+ ingredients with about 8 that are horrible for your body. Count caramel color and high fructose corn syrup as some of the bad ingredients. Raspberries, be it fresh or frozen, have an immune-boosting dose of vitamin C which we all could use! You can use seltzer or club soda as the bubbly component for this refreshing spring soda. Mix together the raspberry syrup straight into the sparkling water of choice or add a few tablespoons at a time to a cup of sparkling water to your liking.
How to make Raspberry Soda
You can make the raspberry syrup in advance and keep it in a jar or container, then add as you please to seltzer or club soda. Fresh or frozen raspberries are totally ok for this.
- Raspberries: Fresh or frozen both works!
- White Sugar: I use cane sugar, but regular white works.
- Sparkling Water: Seltzer or club soda are good options.
- Some Ice and Vodka, optional of course!
Simmer the raspberries and sugar together in a small pot for 15-20 minutes until syrupy. Strain, pressing on the solids. This should give you about 1/2 cup of syrup. Let it cool completely. Mix it all with sparkling water of choice, or a tablespoon at a time with some sparkling water of choice! It’s just that easy.

Tips & FAQs
- Make sure the syrup is fully cooled before adding it to a glass with sparkling water.
- Homemade raspberry soda is best consumed immediately and tastes best if it’s mixed right before serving.
- Variations: Here are some ideas to make this soda even better!
- Add a tablespoon of heavy cream or coconut milk to make it a raspberry Italian soda.
- Try it with 7Up or Sprite for an extra sweet fizzy and tangy raspberry soda taste.
- Squeeze in some fresh lemon, orange, or lime juice for a tangy citrus flavor.
- For a deeper vanilla flavor, whisk in some vanilla bean powder to the syrup before adding it to the glass.
- Add some mint or basil to the syrup to give it some herbaceous notes.
- Storage: You can make the syrup and store it in a jar with a lid for up to 2 weeks. Do not freeze the syrup. It does not freeze well and it will ruin it.
- Can I use an artificial sweetener? You can, however, I don’t ever use artificial sweeteners. I won’t know how it comes out, so feel free to let me know!
- What else can I use the raspberry syrup in? Add it to your favorite smoothie or coffee drink.
Want the recipe? Click print below! Let me know how it came out for you by tagging me on Instagram (@missravenskitchen) and using #missravenskitchen! Follow my Facebook page for updates as well! Let me know if I need to tweak anything.

Raspberry Soda
Ingredients
- 1 pint of fresh or thawed frozen raspberries
- 1/2 cup sugar
- 1 liter + 1/2 cup seltzer or club soda
- Ice, to serve
Instructions
- In a small pot, simmer the raspberries and sugar together for 15-20 minutes over medium-low heat. Strain into a measuring cup, pressing the solids down until you got most of the syrup out. Allow cooling completely. This should give you about 1/2 cup of syrup.
- Mix the syrup right into the seltzer or club soda, or add the syrup one tablespoon at a time to a cup of seltzer or club soda until it’s to your liking.
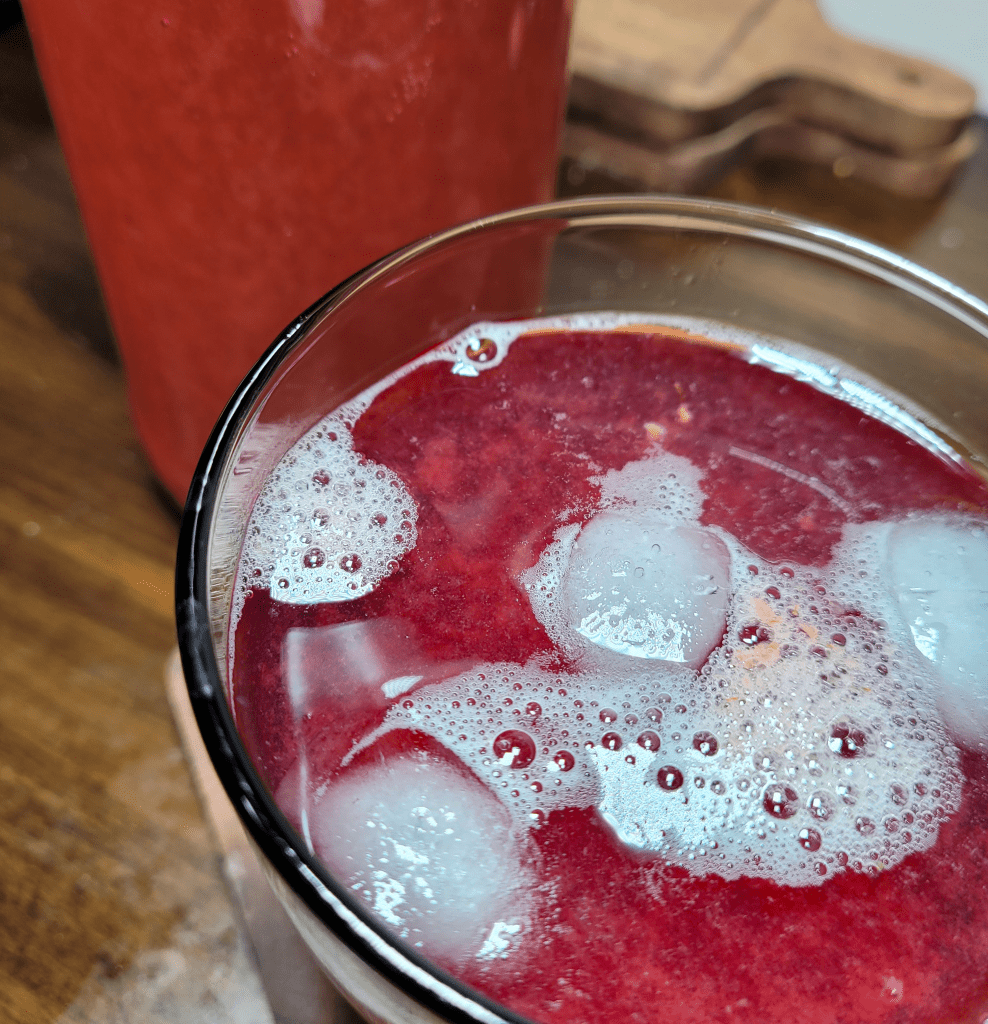
- Serve over ice.
Notes
**Add some mint or basil to the syrup while it’s simmering to give a herbaceous note.
Nutrition Facts
Calories
157.76Fat (grams)
0.85Sat. Fat (grams)
0.02Carbs (grams)
38.98Fiber (grams)
7.69Net carbs
31.29Sugar (grams)
30.18Protein (grams)
1.42Sodium (milligrams)
1.43Cholesterol (grams)
0I did my best to research! Let me know if these are correct!

Donate to fund my blogging adventures!
Any and all donations are greatly appreciated. All funds go to the start of my blogging career in hopes to make my blog more approachable and interesting. DISCLAIMER: Funds do not go towards bills, entertainment, our own groceries, or anything else that is not a part of my blogging career. All funds go towards equipment for my start in food photography, as well as funding my blog to be more professional. Thank you for donating and look forward to more recipes!


Leave a comment