Share this Post
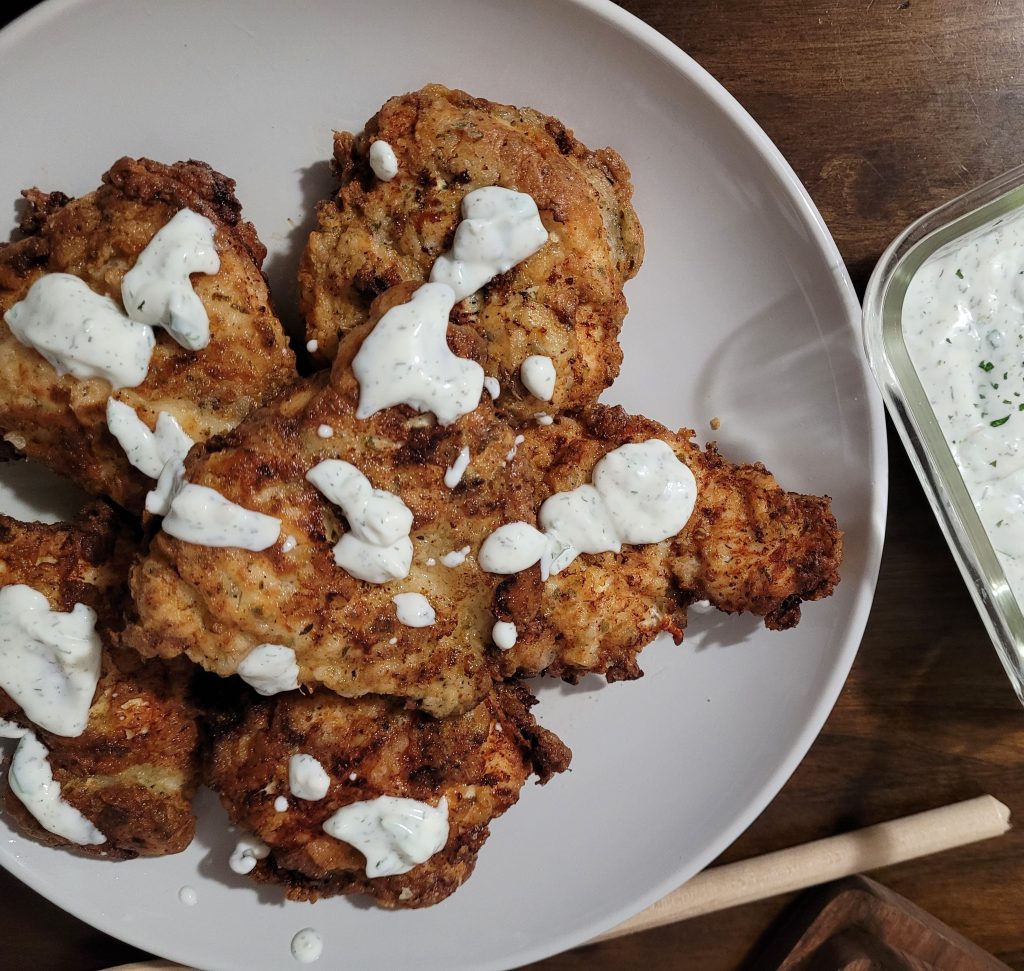
Crispy fried chicken and ranch! Need I say more? This delectable and juicy chicken is marinated for 2 hours, then fried for that crispy and crunchy comfort food you always want!
This recipe is definitely comforting in its own way. If you’re going to make fried chicken, then you’re going to make it right. Of course, regular fried chicken with the basic seasonings is ok, but this recipe is going to be your new go-to for fried chicken. I recommend you make your own ranch seasoning without the buttermilk powder, only because you’re marinating the chicken in buttermilk. The salt factor in the premade packets of ranch seasoning is extremely high that you would need to tip-toe around to make it not salty. I like controlling the salt, therefore making your own is better. Plus, within those premade packets are ingredients that you probably can’t pronounce! I’m all about DIY.
How to make Buttermilk Ranch Fried Chicken

You need to let the chicken marinate for 2 or more hours. You can leave it to marinate overnight if you need to.
- Chicken breasts, sliced lengthwise in half, then cut in half widthwise: This is how you get more for your chicken dinner. You want boneless, skinless chicken breasts thick enough for you to slice in half. If you have presliced chicken, then you just need to cut them in half. Be careful however, presliced chicken breasts are usually sliced thin, and will dry out easier when frying. You can use other parts of the chicken if you wish, just know that the time for frying will differ.
- Buttermilk: This is what you will be using to marinade your chicken in. All you need is 2 cups of it; this equals 16 oz.
- Ranch Seasoning: Ranch seasoning is super simple to make on your own. The prepackaged seasoning packets tend to have a ton of salt, which is no good! I used dried spices and herbs for this, however, if you’re ambitious enough, you can try fresh herbs! I want to know how it turns out.
All you need for the DIY Ranch Seasoning is:- Minced Onion
- Salt
- Parsley
- Dill
- Chives
- Garlic Powder
- Onion Powder
- Flour, eggs and water: Separate the flour from the eggs and water. The eggs will need to be combined and whisked with water to create an eggwash for the chicken in one bowl. In a separate bowl, place the flour. You can season with black pepper and cayenne if you wish.
- Frying oil: Canola or Avocado work best! Both can reach high temperatures up to 500F. I personally prefer avocado oil because it’s a bit healthier than canola.
Tips and FAQs:
- The secret is making sure your oil is hot enough. You want the oil to reach a temperature of 350F. Heat it on medium-high for a few minutes to reach that tempature.
- To see if your oil is hot enough, drop a small pinch of flour into it. If the flour bubbles, the oil is hot enough. To avoid it being too hot, turn it down to medium heat and wait a minute before adding your chicken.
- Breading chicken can be a gunky process as the flour and egg wash builds up on your fingertips fast. The flour itself can create clumps of egg and flour, making it hard to coat your chicken. To avoid this, make sure the egg wash drips off each chicken piece for a few seconds before moving it to the flour mixture, and washing your hands in between each batch; I do this every few pieces. I wash my hands a lot when I’m breading anything. If you find your flour mixture get clumps in it more often than not, try only using half of it at a time so that you can add in a fresh batch when the need arises.
- Paper towel-lined plates are a must! Always, always, ALWAYS let your chicken sit on a paper towel-lined plate for a few minutes to get rid of any surface grease and have the best crunchy and crispy chicken tenders imaginable.
Want the recipe? Click print below! Let me know how it came out for you by tagging me on Instagram (@missravenskitchen) and using #missravenskitchen! Follow my Facebook page for updates as well! Let me know if I need to tweak anything.

Buttermilk Ranch Fried Chicken
Ingredients
- 2 chicken breasts, sliced in half lengthwise, then widthwise
- 2 cups buttermilk
- Salt, to taste
- 2 cups all-purpose flour
- 2 eggs
- 1/2 cup milk
- 1 tbsp dried parsley
- 1/2 tsp dried dill
- 1 tsp garlic powder
- 1 tsp minced onion
- 2 tsp dried chives
- 1/2 tsp mustard powder
- 1/2 tsp black pepper
Instructions
- In a large ziplock bag or container, place the chicken, then pour the buttermilk over the chicken. Sprinkle with the ranch seasoning and toss to combine, or shake the bag. Refrigerate for 2 hours or overnight.
- Grab two bowls. In one bowl, add the flour. In the other bowl, add the eggs and milk, then whisk to combine. Working with one piece at a time, dredge the chicken in flour, egg mixture, allowing it to drip so there’s no excess, then back into the flour.
- Let the chicken sit for 10-15 minutes so the coating sticks to the chicken.
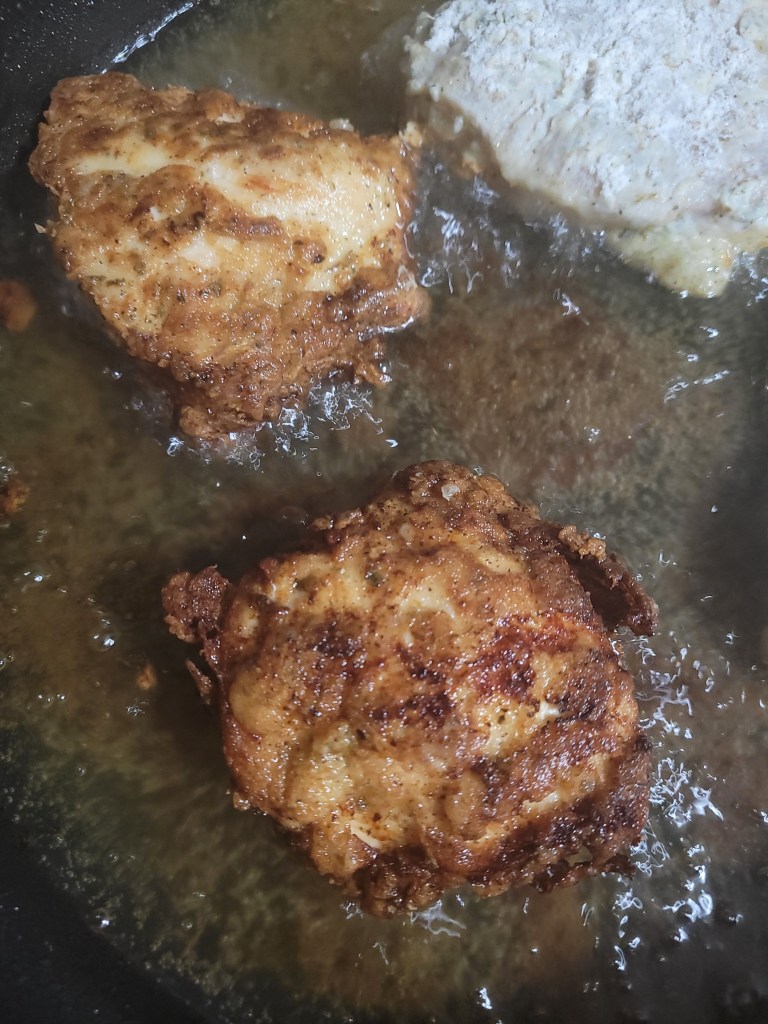
- In a large pot, heat about 2 quarts of oil to 350F. Set aside a plate lined with paper towels.
- Add the chicken to the hot oil and fry for 10-15 minutes, or until the internal temperature reaches 165F and it is golden brown, turning occasionally.
- Place the chicken on plates lined with paper towels. Serve immediately.
Nutrition Facts
Calories
425.90Fat (grams)
6.49Sat. Fat (grams)
2.21Carbs (grams)
56.37Fiber (grams)
2.74Net carbs
53.63Sugar (grams)
6.45Protein (grams)
33.37Sodium (milligrams)
474.13Cholesterol (grams)
148.90I did my best to research! Let me know if these are correct!
Inactive time counts for marinating for 2 hours.


Donate to fund my culinary adventures!
Any and all donations are greatly appreciated. All funds go to the start of my blogging career in hopes to make my blog more approachable and interesting. DISCLAIMER: Funds do not go towards bills, entertainment, our own groceries, or anything else that is not a part of my blogging career. All funds go towards equipment for my start in food photography, as well as funding my blog to be more professional. Thank you for donating and look forward to more recipes!


Leave a comment